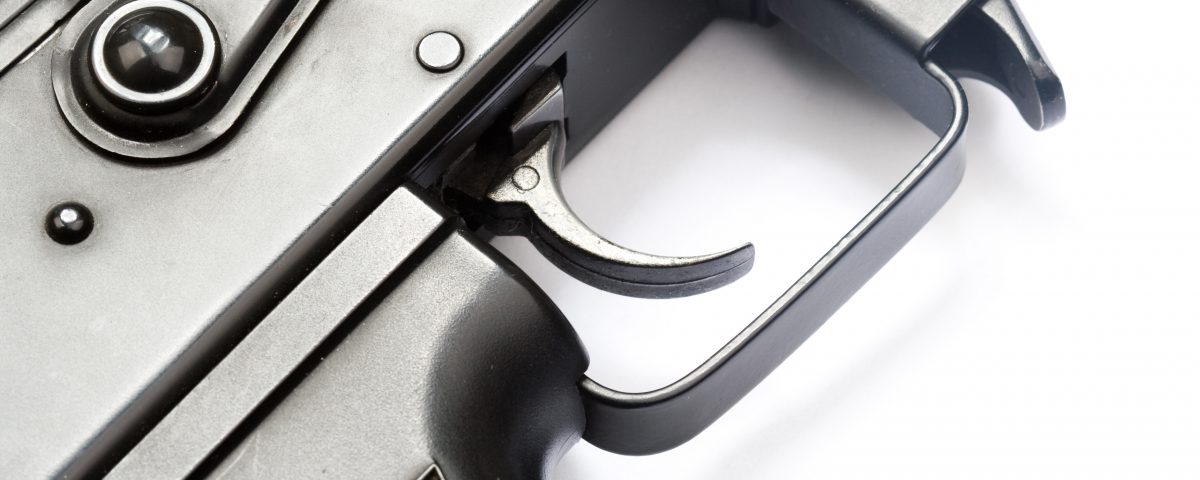
Dimensional Inspection for Firearm Parts and Components

Dimensional inspection (also called dimensional metrology) has come a long way since the industrial revolution. The industry advanced even more by utilizing new technologies such as 3D scanning. As the name suggests, it is truly a science to measure, assess, calibrate and quantify the physical size and geometric characteristics of parts and components. Compliance with design specifications affects functionality and reliability. Therefore, proper dimensional inspection is critical to product development, part comparison, production, and quality control. The end goal is to achieve the most precise and accurate geometric assessment of your firearm parts and components.
Common Considerations for Firearm Inspection
Tolerance for a Slide to Frame Assembly
While the slide to frame fit only accounts for about 5% to 10% of the total accuracy of a handgun, it is a very valuable indicator of craftsmanship. Tolerance specifications vary from gun to gun; however most designers will prefer a tight slide to frame fit.
True Position of a Barrel
Due to their nature, gun barrels can have deflections as they heat up. When the gun is fired, the temperature increases from bullet friction and the hot expanding gases that propel the bullets in their helical path down the barrel with every shot. These deflections can make it difficult to hit intended target – particularly with modern high-caliber rifles. Even small barrel deflections can result in missing targets by a wide margin especially at long range.
Accurately Measuring the Twist of a Barrel
Rifling is often described by its twist rate. The combination of bullet spin and velocity is what stabilizes the projectile gyroscopically as it spins around the barrel’s long axis. To achieve the highest accuracy and stability, we need to determine the true twist rate precisely and select ammunition accordingly. Variations in twist rates are not uncommon, and even factory barrels can be out of specifications.
Experience Matters
“Close enough” is simply unacceptable in advanced gunsmithing. Accuracy and experience are a must. Product safety, mechanical properties, and cause of failure in metal parts are just a few aspects of dimensional inspection of firearms.
IIA inspectors have extensive experience in the firearms industry and a proven track record inspecting a wide range of firearm components, such as gun stocks, frames, and firing mechanisms. Outsourcing these services to IIA will decrease downtime in your product’s development and enable you to get to market faster.
We hold a Federal Firearms License (FFL), which eliminates the need for a third party when exchanging firearms and their components. Therefore, transferring and maintaining traceability is a smooth simple process and inspection lead times are significantly shorter.
Our capabilities are structured to assist you from precision component development into full production. Do you need comparison tests based on cavity-to-cavity or supplier-to-supplier? Are your parts controlled by profile and require specific numerical profile data collected with CMM (coordinate measuring machine)? Rest assured, at IIA, your high-performance components are inspected precisely against your specific reporting needs. We are proud to service well-established firearm manufacturers such as Remington Arms Company and look forward to assisting you with your custom project.
IIA Can Help
Our focus and priority is to provide high-quality, cost-effective dimensional inspection, advanced 3D scanning, modeling analysis, and geometry re-creation services that save time for firearm manufacturers. Our highly trained professionals can promptly scan and verify firearms and components during the course of the development of your product.
Scanning applications include mating component analysis, surface area analysis, and full CAD model development. Our proficiencies are structured to personally assist you from development into full production. We will personalize your project to accurately and precisely suit your needs. We pride ourselves on our quality service and there is no doubt that your manufacturing process will greatly benefit by more rapid and cost-effective production results.


