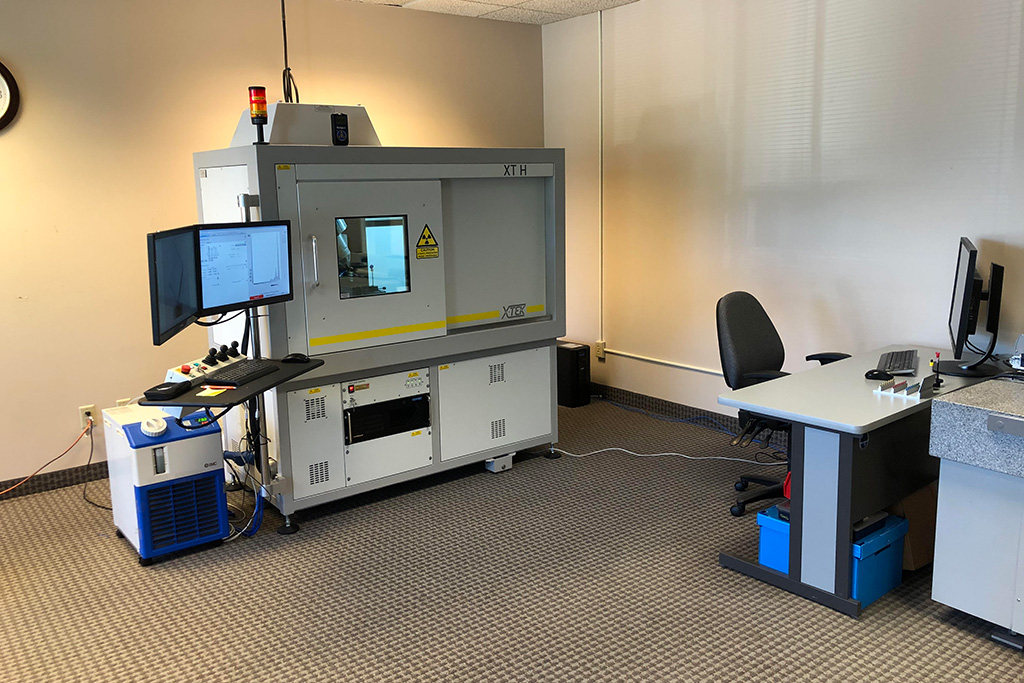
The Inside Look on IIA’s 3D Scanning Capabilities

Industrial Inspection & Analysis Lab Services offers cutting-edge CT Scanning, 3D Laser Scanning, and Geometry Recreation. These services support the entire Product Lifecycle from New Product Development, Product Transfers, Supplier Verification, Failure Cause Analysis, and Process Improvement.
New Product Development
IIA’s CAD Specialists support creation of models from design concepts, which can be used to create prototypes. They also provide feedback on actual prototypes by analyzing them with 3D laser scanning or CT Scanning and comparing the results to the design. These services are rendered to meet the customer’s tight timelines.
Product Transfer (Reshoring)
When transferring production from one country to another, often the original manufacturer is the rightful owner of all the documentation and specifications which may not be available to facilitate the transfer. Process drawings, Tooling CAD files which were used to develop the product were most likely developed over time. Information may have been lost through multiple iterations and may not have been fully documented through the normal engineering change order process. This means that while the tools may be available, there are no process models, process drawings, or work instructions to recreate the desired product.
The transfer process involves review of previously manufactured parts, comparison to newly manufactured parts, and adjustment of CAD geometry to replicate an existing product. Partnering with Industrial Inspection & Analysis Lab Services to provide critical information will enable your company to keep project timelines on track and enhance overall project success.
Supplier Verification and Comparison
When it comes to mechanical inspection, Original Equipment Manufacturers (OEMs) turn to the IIA Lab Services team of experts. Utilization of a variety of scanning platforms allows these specialists to capture thousands of data points in a matter of seconds. This Point Cloud data enables comparison of the physical part geometry to the CAD model. By showing a virtual overlay utilizing a color gradient, deviations between the part and the CAD can be quickly analyzed. The same methodology can be leveraged to compare part to part deviation. This allows the OEM to rapidly compare multiple suppliers’ products.
Failure Cause Analysis
Understanding why mechanical interactions fail within assemblies can be very difficult to ascertain using traditional measuring methodology. Industrial CT Scanning allows the user to look inside the assembly non-destructively to identify the cause of the assembly failure. One simple example is that of a bottle cap not sealing properly on a water bottle. By analyzing the bottle with the cap engaged, it is possible to see where the cap and bottle thread interface, revealing potential leakage points. Practical applications include analysis of multiple materials, including some metals, dimensional analysis of over-molded parts, circuit board solder verification, etc. Also, destructive testing can be very costly for failure analysis. Industrial CT Scanning enables analysis of internal geometry which is quicker and more accurate than analyzing sectioned parts.
Process Improvement
As a resource for your organization, IIA’s team turns collected data into useful information. Working hand-in-hand with customers allows for timely and accurate feedback, which is critical for process improvement projects, meeting deadlines, and hitting milestones. Both the years of experience and high level of service the IIA team offers makes this partnership a key to many companies’ success. Industrial Inspection & Analysis is a leader in 3D Scanning of complex parts. We stand ready to meet your CT Scanning, Geometry Recreation, Part-to-CAD or Part-to-Part comparison needs.


