IIA Helps Get Vital Protective Device to Doctors During Covid Crisis

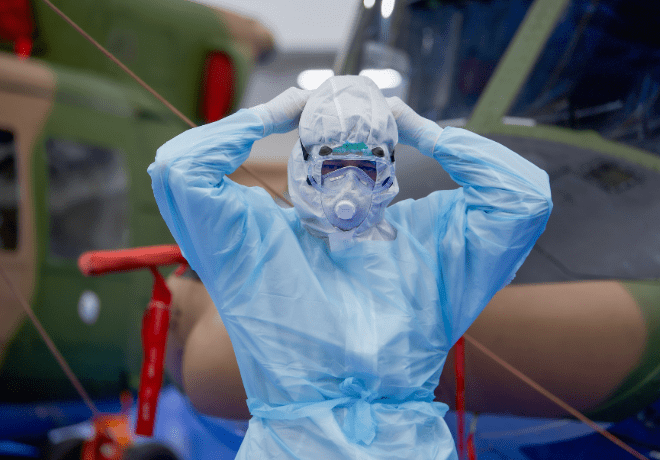
As the COVID-19 crisis reached a peak, healthcare professionals gave their all to save as many lives as possible. Behind the scenes, medical manufacturers rallied to move potentially life-saving equipment and technologies through the production pipeline with a heightened sense of urgency.
Industrial Inspection & Analysis (IIA) was proud to help a major medical team from a Fortune 500 company deliver a promising piece of equipment to help protect doctors and nurses from the coronavirus.
With lives on the line, time was of the essence.
Our Lab Services team started on the project immediately to help this manufacturer safely and quickly move the device from prototype into production.
Our first task was to perform first article inspection on the front and back pieces of an assembly housing that would be used in the blower system of an air purifying respirator worn by healthcare professionals. We used a touch probe or scan with coordinate measuring machine (CMM) to capture 100% of each part’s dimensions.
What is First Article Inspection?
In the early stages of a part’s life cycle, a First Article Inspection (FAI) is an official authentication method for a manufacturing process. At IIA, our FAI reports utilize the dimensional properties of a production part in comparison to design specifications. FAIs can be performed on a variety of items; and inspections may include distances between edges, positions of holes, diameters and shapes of holes, as well as surface profiles.
Armed with data from the first article inspections, the manufacturer was able to resolve warping and other quality issues associated with its plastic injection molding process and obtain the green light from the Federal Drug Administration to proceed with production.
At this stage, IIA again played a key role in helping the manufacturer get the product to market by providing comparative analysis, or computer-aided verification (CAV).
During a 12-month span, IIA used 3D scanning to identify abnormalities with the manufacturer’s molding process and confirm that manufactured parts matched the 2D prints and met all required tolerances.
Benefits of 3D Scanning
Data capture with 3D scanning is fast, flexible, and highly accurate —an excellent tool for product and process designers who are looking to quickly capture measurements and verify that a part conforms to specification.
Scanning can capture hundreds of thousands of points per minute, compared to a typical CMM, which will capture a few dozen points per minute.
Scanning-based inspection (or CAV) uses this full-coverage advantage to demonstrate deviation visually. Specific dimensions can be extracted from the 3D data at any time.
With help from IIA, the respirator was made available to doctors and nurses when it mattered most. We continue to work with this customer, and many more, to evolve and improve this important product.
In our mission to Make the World Safer, IIA is proud to support medical manufacturers — and in this case, help doctors and nurses breathe a bit easier during a crisis.
Learn more about IIA’s first article inspection services and how a CAV can be useful for manufacturing.


