Simple & Advanced Manual Encoded Ultrasonic TestingARMUT®
IIA’s ARMUT® technology is the most cutting-edge PAUT examination available today. It’s an alternative to conventional manual and encoded track phased array examinations.
ARMUT® technology can be used by a single technician to examine critical welds and gather extremely high-resolution images that can be stored, shared, and immediately analyzed — no outage required!
NEED A QUOTE?
Simply fill out your name, number, and email below and someone from our team will contact you within 24 hours.
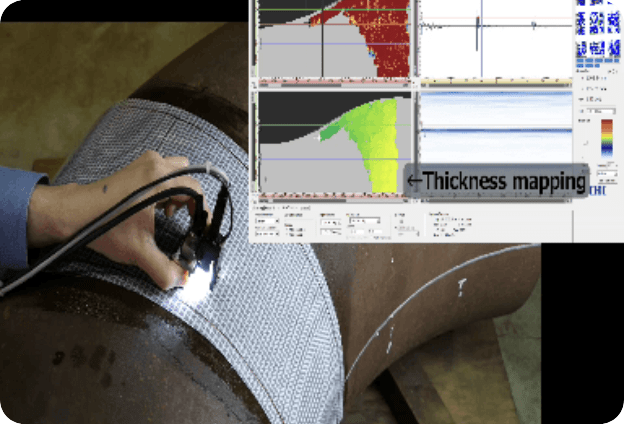
Corrosion Mapping of Elbows: The ARMUT Advantage
Our patented ARMUT® system offers a reliable, time-saving alternative for corrosion mapping of piping elbows. Armed with ARMUT, a single technician can capture high-resolution images along the entire pipe elbow. You’ll receive an accurate map of corrosion that will pave the way for sound maintenance and repair decisions.
The Best of Both Worlds
Two types of ultrasonic testing (UT) can be used to conduct weld examinations: manual/non-encoded and encoded.
- Non-encoded, manual UT is relatively inexpensive, but is more difficult to perform.
- The second option, encoded, automated UT, is viewed as an investment in technology, accuracy, and recording. Automated UT digitally saves all data gathered during the examination, which means the data can be reviewed and shared with others immediately after the examination, and can be stored for future reference.
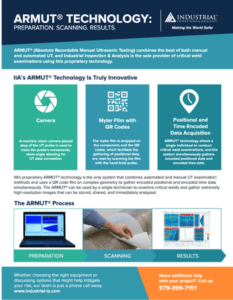
Our proprietary ARMUT technology is the only system that combines the best of both manual and automated phased array ultrasonic testing (PAUT) to gather encoded positional and time data on complex geometry simultaneously.
IIA is the sole provider of critical weld examinations using this proprietary technology.
Get the Answer Without the Outage
After configurations are changed at a power plant (for example, cutting out pipes, identifying corrosion or locating minimum wall violations), rewelds take place. Radiography is then typically used to reexamine the welds to confirm reliability. A serious drawback to this approach is that the area must be completely shut down for safety reasons, including the risk of radiation exposure. Outages can last for days, weeks, even months. ARMUT offers a safe, effective, time-saving alternative — delivering the answers you need without the outage!
How it Works
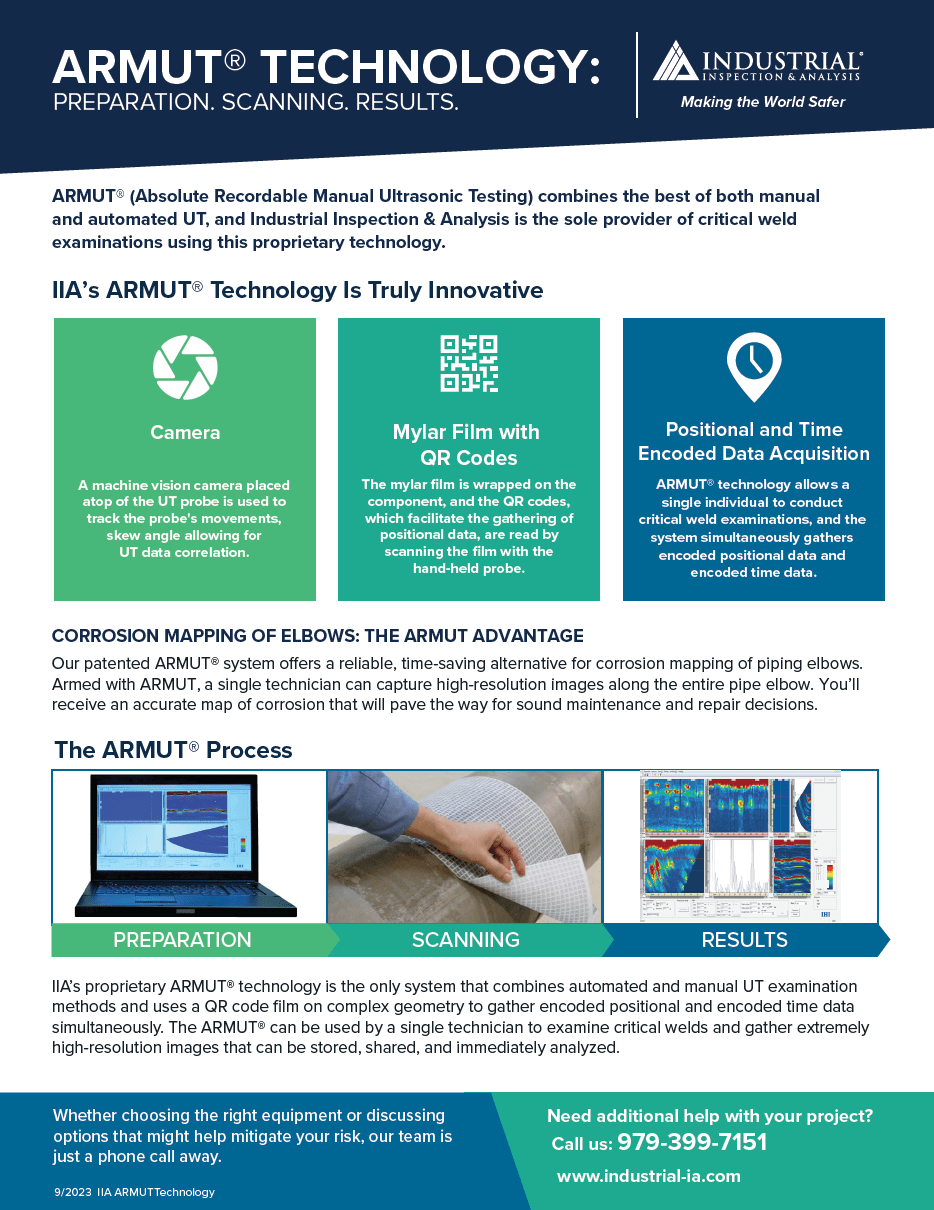
A machine vision camera placed on top of the UT probe tracks the probe’s movements and skew angle, allowing for UT data correlation and measurement of flaw characteristics.
IIA’s additional proprietary application is a gridded QR Code Mylar film, which is wrapped on the component. The QR codes facilitate the gathering of positional data. This film is used to encode complex geometry, such as reducers or nozzles, to gather encoded positional and time data simultaneously.
Benefits of ARMUT:
- High POD (Probability of Detection), especially for cracks and lack of fusion
- Higher rate of detection for planar flaws
- Higher sizing accuracy rate
- Fewer rejects and repairs
- PAUT permits defect height measurement, which enables volumetric consideration of flaw severity (instead of only flaw type and length)
- No radiation emitted
- No additional licensing or personnel required
- No chemical or waste material produced
- Real-time analysis
- Digital setup and easy-to-read electronic reports
- ARMUT allows an examiner to focus on scanning of required code volume, and does not require constant viewing of the phased array instrument during examinations.
- High-quality data due to tracking and recording of probe skew, probe movements and correlating UT data
- A single technician can conduct critical weld examinations.
- Probe scanning can be applied by non-PDI certified operators with minimal training.
- Eliminates the need to interpret ultrasonic data in real time. This reduces examination time, which means more components can be inspected in the same period of time.
Real-time Results
With conventional radiography, the film needs to be developed before it can be read and analyzed. In contrast, information gathered during the ARMUT inspection can be viewed electronically and in real time. With ARMUT® technology, if an issue is identified that needs immediate attention, the customer is alerted in the field, can view the footage in real time and take immediate action.
In addition, IIA’s final report presentation is easy to read and understand. There is no technical jargon to sift through, and the findings are color-coded for ease of interpretation. Reporting data can be quickly transferred and shared, when necessary.
AS EASY AS 1-2-3
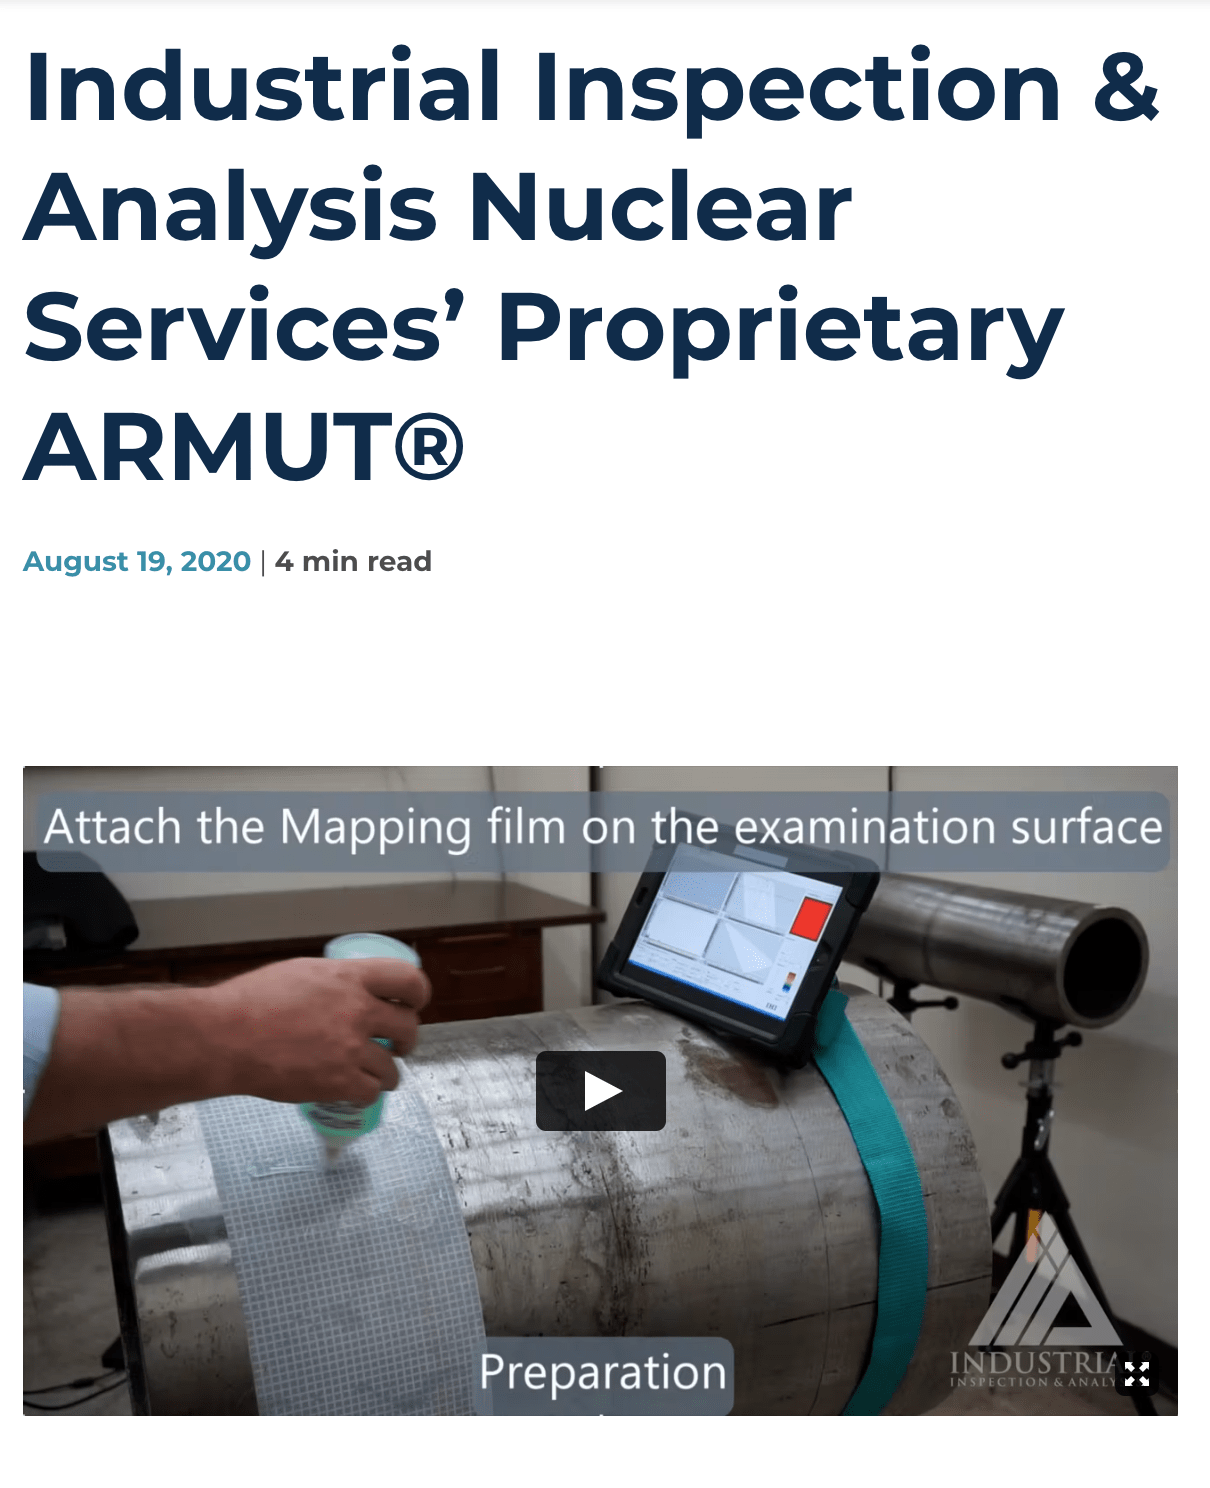
- Preparation – Attach 2D data code sheet to the examination surface.
- Examination – Scan the examination surface with head mount display. System will record location and probe skew.
- Results– Analyze the data and recreate entire scan with video mode.
Applications
- Similar/Dissimilar Metal Piping Weld Inspections (provides the highest data quality for elbow welds)
- Corrosion Mapping
- Vessel Nozzle-to-Safe End Welds
- Vessel Nozzle-to-Shell Welds
- Complex geometry, such as reducers or nozzles
Learn More
Learn how our proprietary ARMUT technology brings together the best of both manual and automated ultrasonic testing to better serve you — and see ARMUT in action.
Resources
Brochures & Summary Sheets
Resources
Blog Posts & Articles

Other IIA Technology
PASS®
Accurate Valve Data —
Without Disassembly
Valve disassembly is a costly and time-consuming prospect that requires the system to be placed in an at-risk condition. IIA’s Phased Array Sectorial Scanning (PASS®) allows for highly accurate valve testing — without disassembly.
Learn more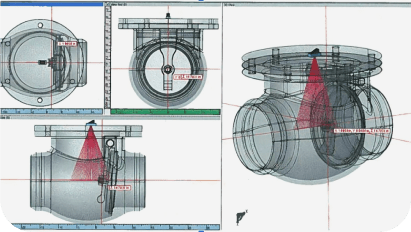
AIRIS®
Advanced Inspection of
Reactor Vessel & Internals
We understand that time is money. IIA’s advanced AIRIS™ inspection method delivers more reliable data while saving plant owners time, trouble and cost.
Learn more
