Touch Probe vs. Optical CMMs: Capabilities & Limitations

Touch Probe vs. Optical CMMs: Capabilities & Limitations
Whether you use an in-house metrology laboratory or a third-party provider, an array of cutting-edge technologies are available to meet your dimensional inspection needs. Depending on the item you need to scan and the purpose of your project, some tools are inherently better suited to meet your needs than others.
In this article, we will explore and compare the capabilities, limitations and real-world applications of Touch Probe (Contact) Coordinate Measuring Machines (CMMs) and Optical (Non-Contact) CMMs.
What is a Touch Probe CMM?
As the name implies, a touch probe coordinate measuring machine is a precision measuring system that uses a probe/stylus to measure part geometry through physical contact. At each point of contact, the probe records its exact position in 3D coordinates (X, Y, Z). Touch probe CMMs are widely used in manufacturing for first article inspection (FAI), production quality control, tool and die inspection, and aerospace and automotive component verification.
What is an Optical CMM?
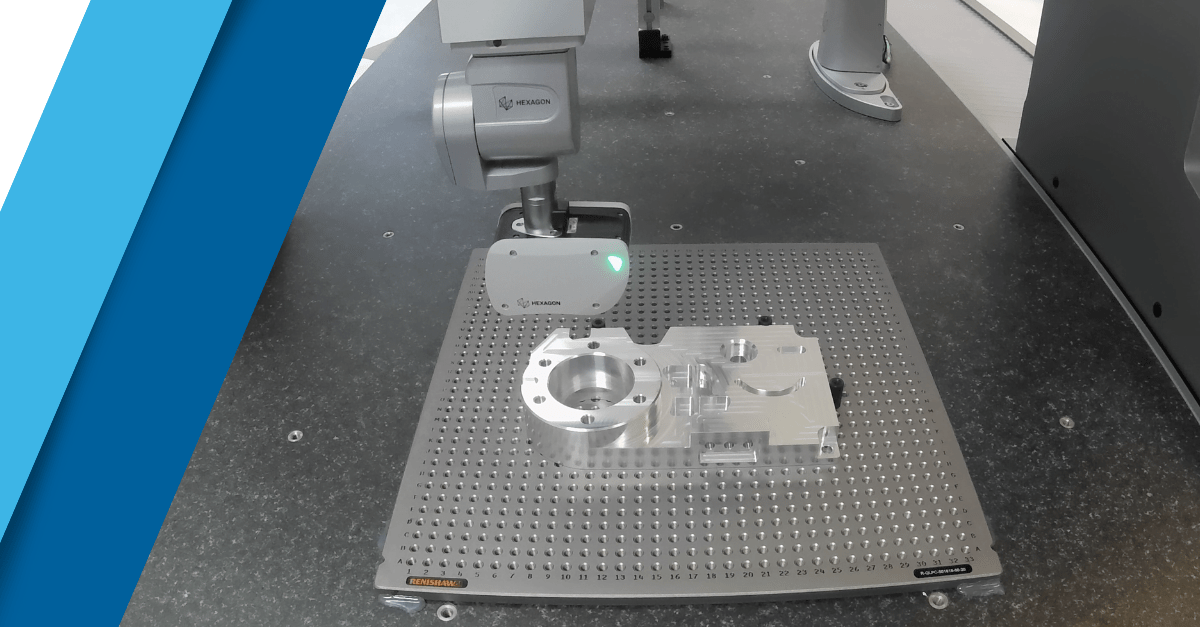
While a touch probe CMM uses physical contact to capture measurement data, an optical (or vision) CMM uses light and imaging systems (cameras, lenses or lasers) to accurately capture dimensional data of edges, surfaces or features — without touching the part. Optical CMMs are routinely used for dimensional inspection of electronics and printed circuit boards (PCB); medical device components; plastic and stamped parts; and micro-mechanical components.
Touch Probe CMM Benefits & Limitations
Touch Probe CMM Benefits: A touch probe CMM provides excellent positional accuracy and reliability on a wide range of sizes and materials, and is ideal when working with tight tolerances.
Touch Probe CMM Limitations: Compared to laser scanning and other non-contact methods, touch probe CMMs can be more time-consuming when complex geometry is involved. In addition, because touch probe CMM measurement is limited to discrete contact points, these machines are not ideal for capturing fine surface detail and edges. In addition, physical contact methods are typically not well suited for use with soft or malleable materials, delicate parts, or very small features.
Optical CMM Benefits & Limitations
Optical CMM Benefits: Optical CMMs quickly and accurately capture large volumes of data on complex geometries, providing excellent coverage of fine surface details and edges. In addition, optical CMMs work well on test items in a wide range of sizes (from micro to very large parts). Non-contact methods are also preferable when working with soft or sensitive materials (such as plastics or rubber) and complex geometries.
Optical CMM Limitations: Optical CMMs can be sensitive to a test item’s lighting and surface finish, and are therefore not ideal for use with reflective, transparent, or dark surfaces. In addition, line-of-sight limitations come into play with the use of optical CMMs. A feature must be properly illuminated and visible to the camera or optical sensor to obtain accurate measurements. When a high level of precision is called for, optical CMMs are generally less accurate than touch probe CMMs.
In summary, when comparing contact and non-contact methods, the touch probe CMM will generally deliver the greatest precision in measuring discrete points, while the optical scanning option excels in speed and surface detail.
| When you need …. | Touch Probe CMM | Optical CMM |
|---|---|---|
| Very high accuracy on discrete features | X | |
| Fast, full-surface capture | X | |
| Hard-to-reach internal features | X (access permitting) | |
| Soft or delicate parts | X | |
| Shiny/reflective parts with no coating | X | |
| Complex, freeform surfaces | X | |
| GD&T checks on specific datums | X | |
| Reverse engineering/3D modeling | X |
Examples of Industrial Applications
| Industry | Touch Probe CMM | Optical CMM |
|---|---|---|
| Aerospace | Landing gear component hole positions measured to ±5–10 µm | Full turbine blade curvature for aerodynamic analysis |
| Automotive | Engine block bore locations | Body panel shape comparison to CAD |
| Medical Devices | Critical implant features that must fit (e.g., hip stem tapers) | Complex surgical instrument contours or surface textures |
| Consumer Electronics | Critical snap-fit feature measurement | Miniature parts, button, housing shells |
Benefits of a Hybrid Approach
One of the many advantages of partnering with a leading metrology lab is that you gain access to an array of state-of-the-art tools, including both touch probe CMMs and optical CMMs.
At Industrial Inspection & Analysis (IIA), we invest in the latest measurement technologies so our customers don’t have to. Our experienced technicians determine if and when to use a contact or non-contact approach, or when a combination of both will deliver optimum results. For example, we can gather a large point cloud of data during optical scanning, align the data to the CAD drawings, and select specific features from the cloud data that require validation with a touch probe CMM.
In some cases, a hybrid approach using state-of-the-art equipment will provide the ultimate speed, accuracy and coverage.
Whether your project calls for a contact, non-contact, or hybrid approach, IIA’s experienced technicians will apply the latest technologies and advanced metrology principles to make your project a success by any measure.
Learn more about IIA’s Dimensional Inspections.


