How Nano Measurement Can Benefit Surface Finish Analysis

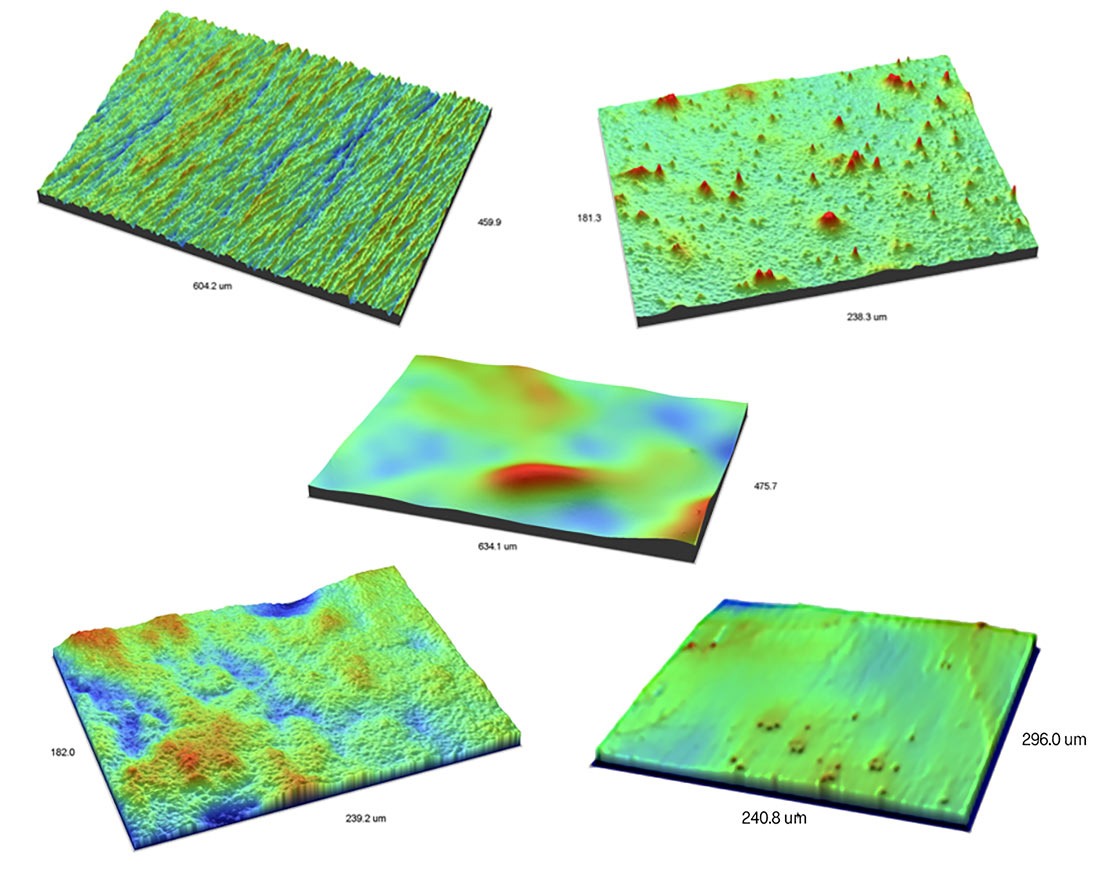
Surface finish analysis is one of the most common applications of nano measurement, primarily because this field requires a high level of precision. Specialized equipment is necessary because traditional dimensional inspection technology is not able to capture surface characteristics such as texture, sharpness, flatness, and wear at the Nano level. In many applications, the surface conditions are not important, but in some cases they can affect functionality; therefore, meeting certain specifications is critical.
In the past, 2D surface finish profilometers were one of the only ways to collect data and deliver topographical information. Although this data is useful, it imposes limitations on manufacturers and engineers because they are not able to verify specifications for 3D surface finishes.
The availability of newer Nano measurement technologies is changing the landscape of surface finish analysis, making it possible to achieve full 3D analysis.
Nano Measurement and Surface Finish Analysis
Some of the features that Nano measurement equipment is able to capture include:
- Profile roughness – The profile roughness gives you 2D information about the texture of a surface. The data is collected along a single line or extracted from an area data collection.
- Surface roughness – In this case, the roughness is measured across the entire area of the surface. This obviously provides more information than profile roughness because the characteristics are not necessarily the same over the entire surface of the object.
- Wear measurements – The data that is collected can be compared with an existing data set to determine the amount of surface wear that has occurred on a part. This is important for high-precision manufacturing and other applications in which surface features affect functionality.
- Volume measurements – The volumes of peaks, holes, pits, and bumps can be determined at the Nano level. Minute differences in surface topography can have a major impact in applications such as solder points on micro circuit boards or artificial hip implants.
- Finding defects – Identifying surface defects such as blemishes, holes, or scratches is an important part of quality control. When these defects occur at the Nano level, the impact in certain applications can be significant. New Nano measurement technologies have not only made identifying these surface defects possible, but also allow it to be achieved quickly, which is important in a fast-paced manufacturing environment.
Using a combination of technologies, IIA can deliver simple surface finish readings, full 3D analyses with visualizations, raw point cloud data, and even fully parametric 3D CAD models of very small and complex geometry at the Nano level. If you are looking for a provider that offers a wide variety of high-precision Nano measurement, contact us today to get started.


